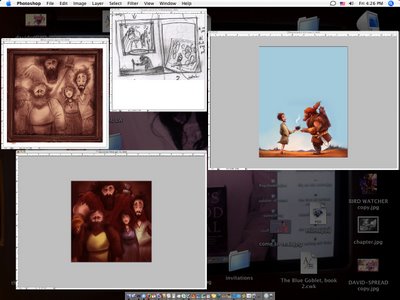
All in the family...
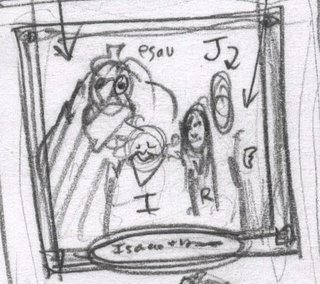
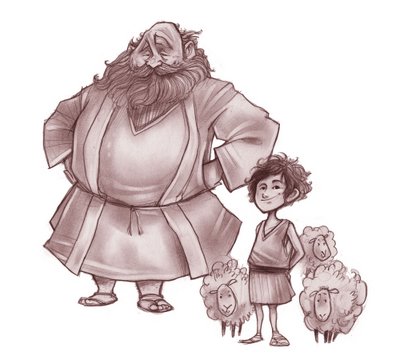
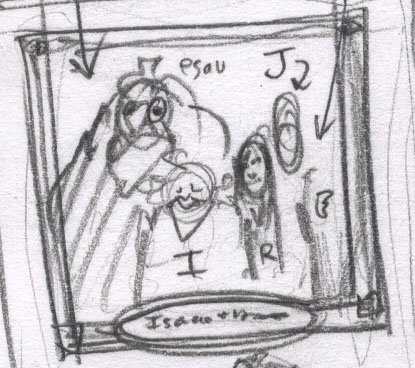
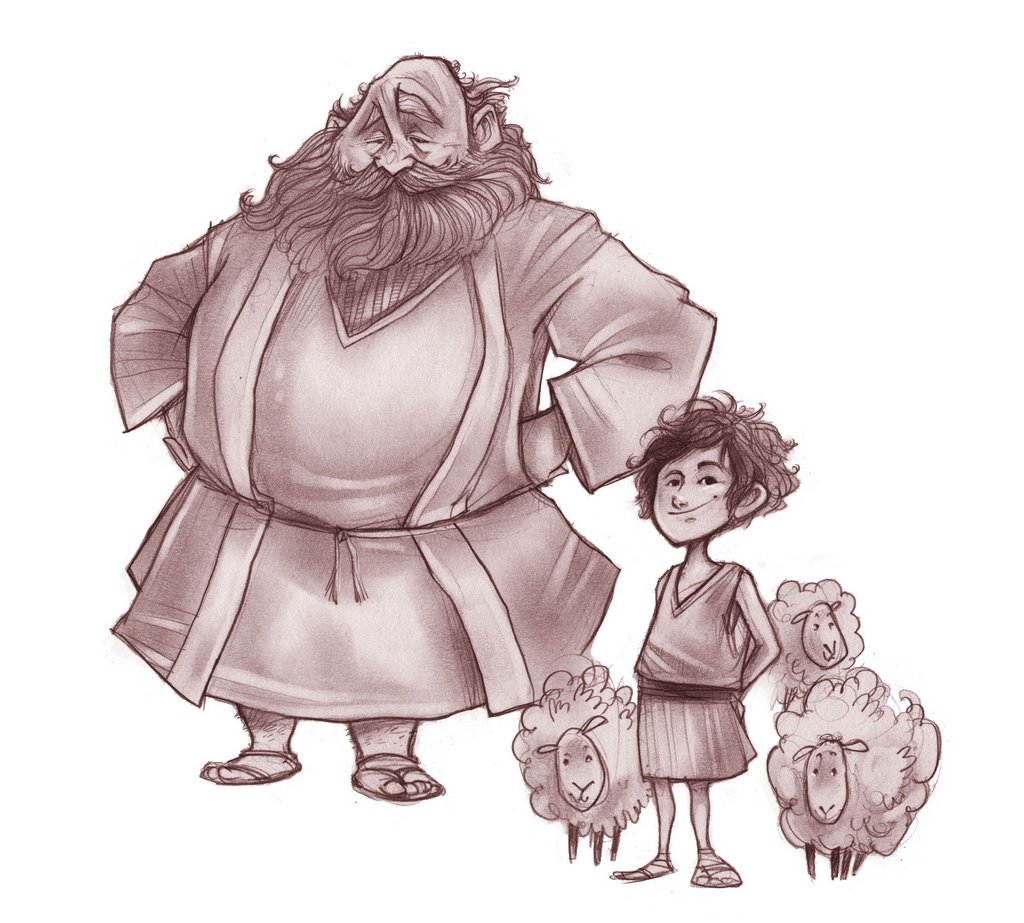
It all starts with a thumbnail. A foolish little doodle.
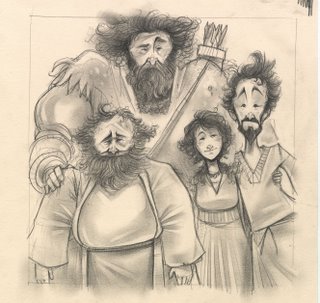
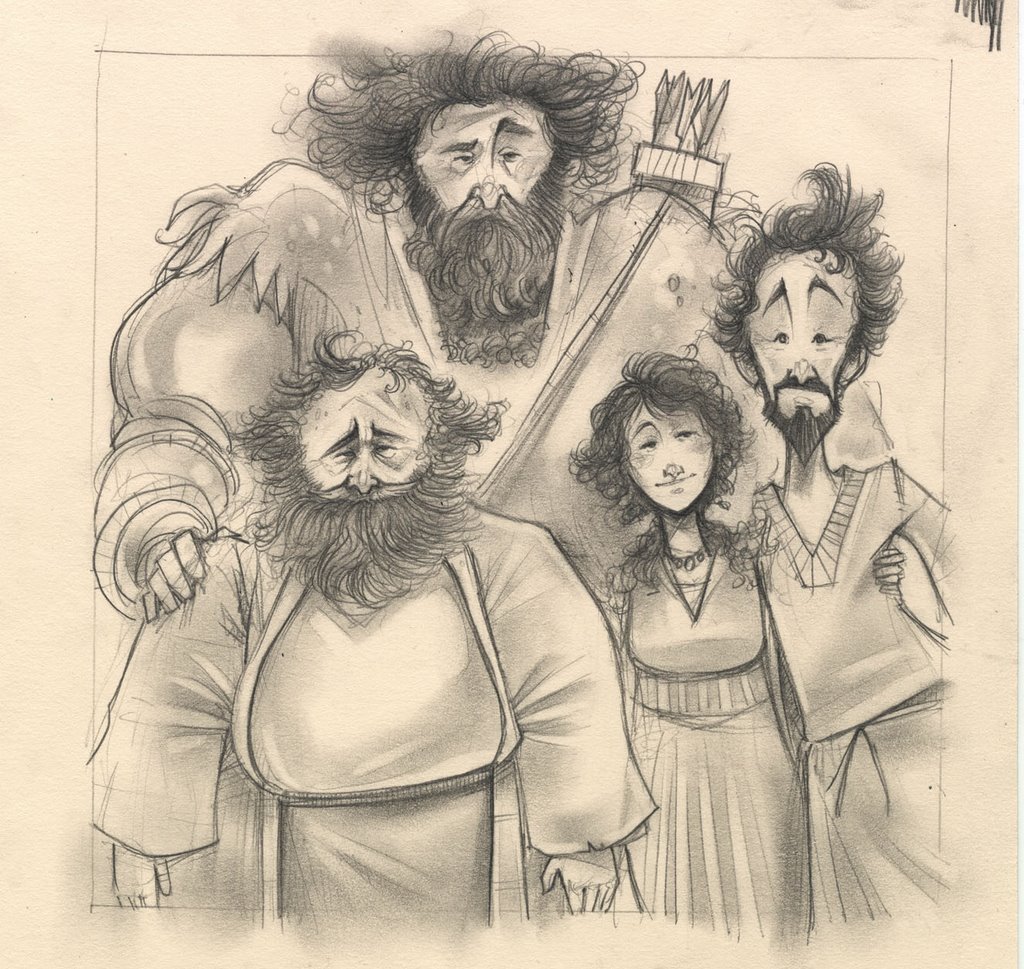
Then progresses to a finished drawing, like so. To do this you need to listen to good music and put the pencil down on the paper. This is the hardest part and the easiest part, unless you are listening to Pärt, Arvo Pärt, in which case after fifteen mintues you'll seize a chair, heave toward the nearest window, dive out after it, and plummet to your doom.
Then usually I'll goof off.
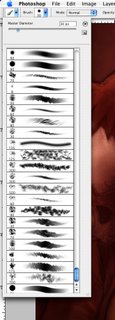
 Having a set of fantastic customized brushes never hurt a fly.
Now, here's the roast beef of this one.
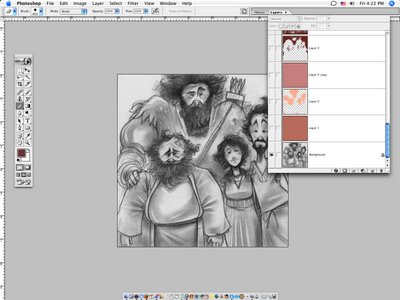
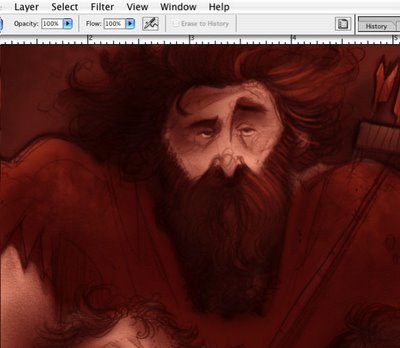
A little coloring of the lines, just like how when I do a watercolor, I'll be sure to not use a regular pencil. I'll use a colerase brown, or Derwent Chocolate 66, to keep things from looking grim. And by grim I mean dead.
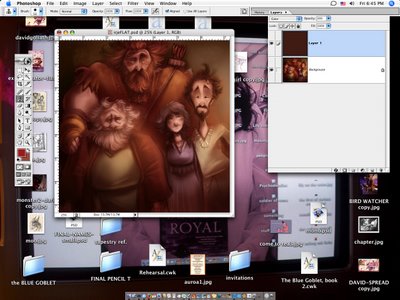
Using a normal airbrush set on multiply, I'll lay in my values. Generally in a brown.
And I'll also, multiply in some color.
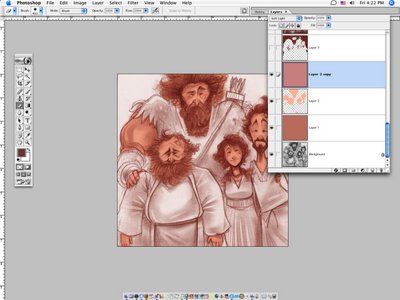
Kind of an over view of things...
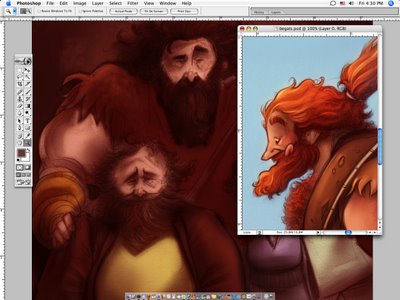
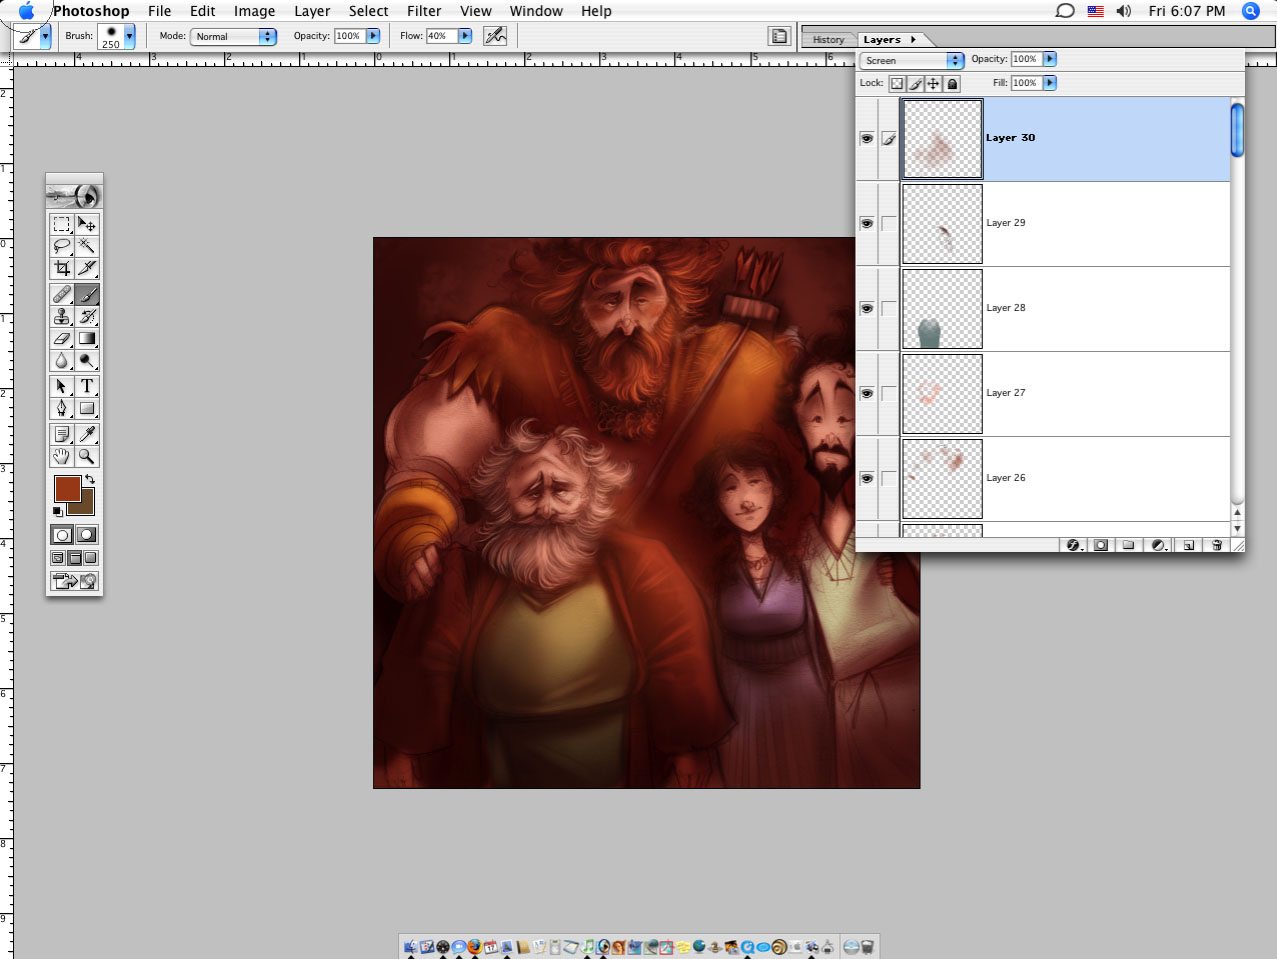
Now, here's the magic starting. See how that hair is red? Dig this:
You
use
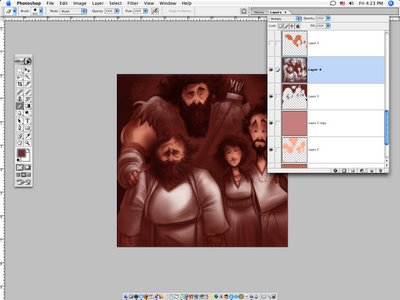
Screen. Notice the old man (Isaac) and his hair from here...
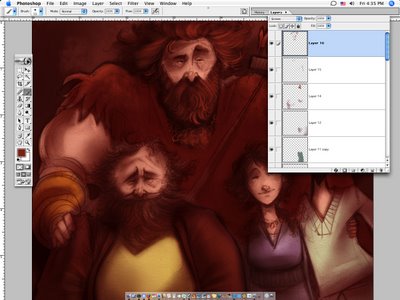
...To here. Fantasic.

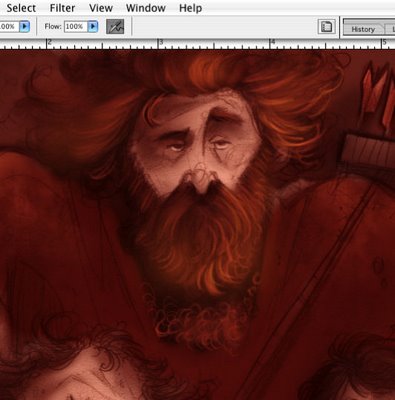
We're needing some light, so we need screen.
KA-BLAM-- and there was light.

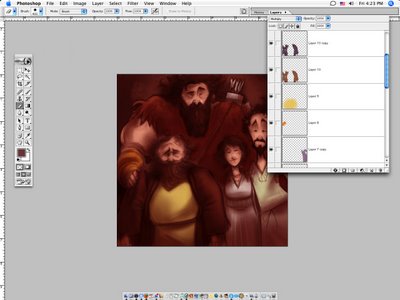
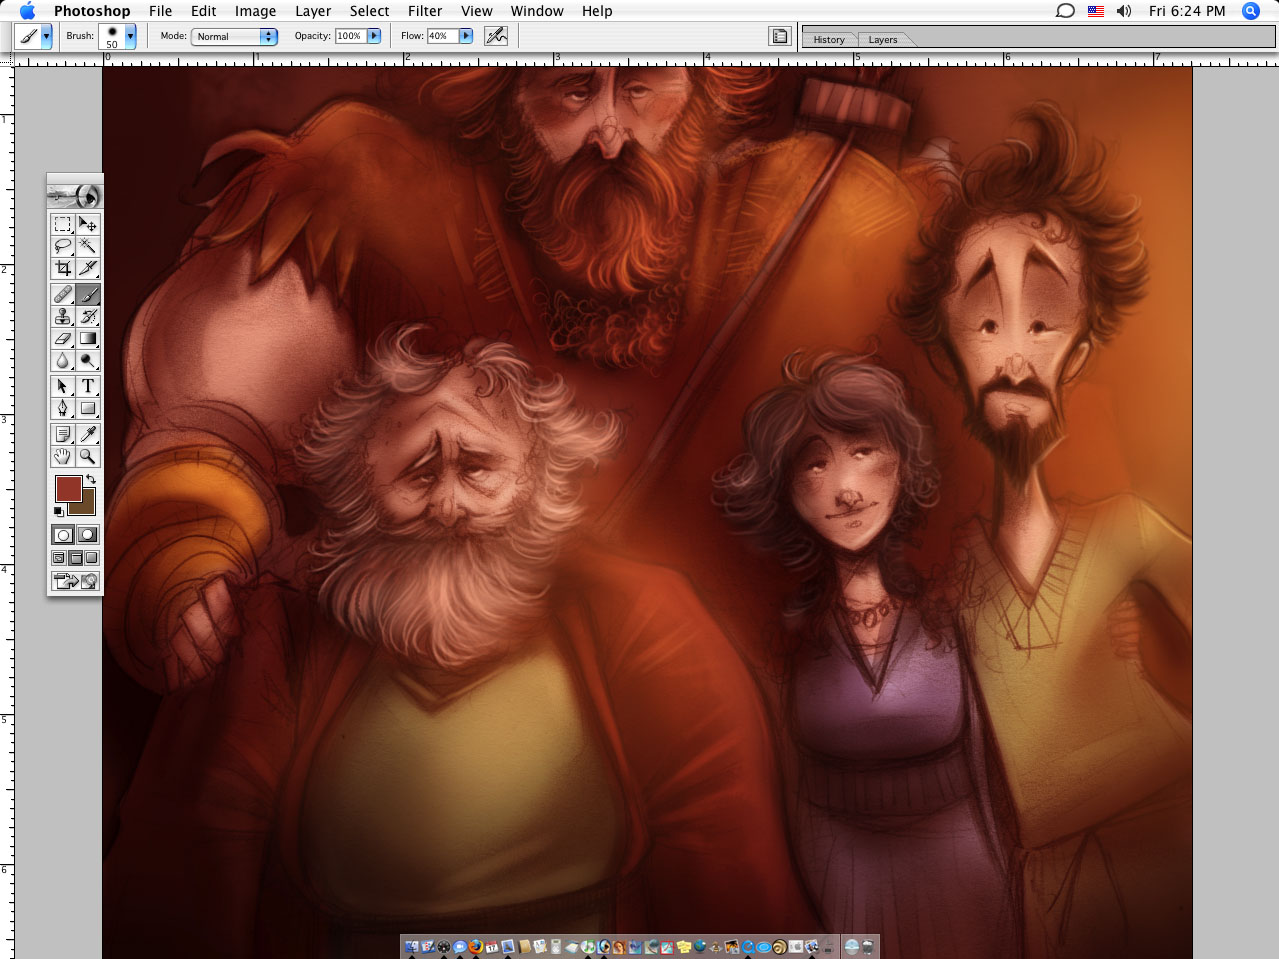
The color of the background was beginning to be just a little to similar. So, with a layer of color, there you go.
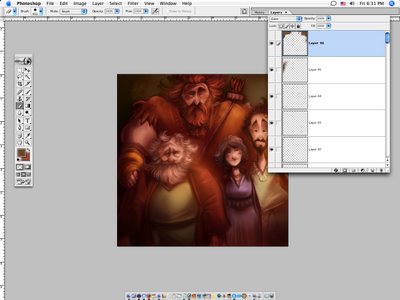
Tame that saturation. That's to my liking, maybe not for everyone though.
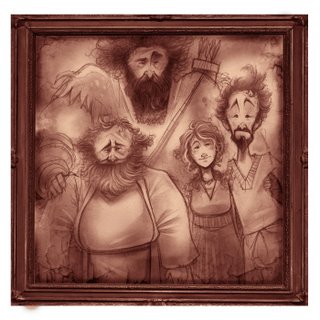
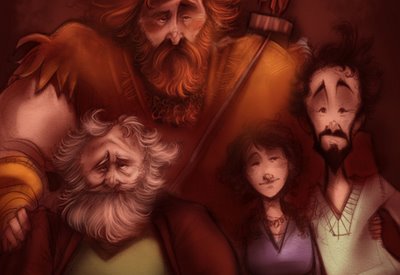
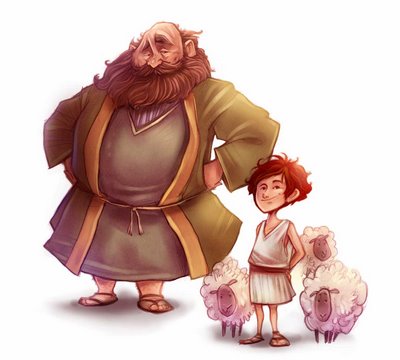
Ready for the fridge.

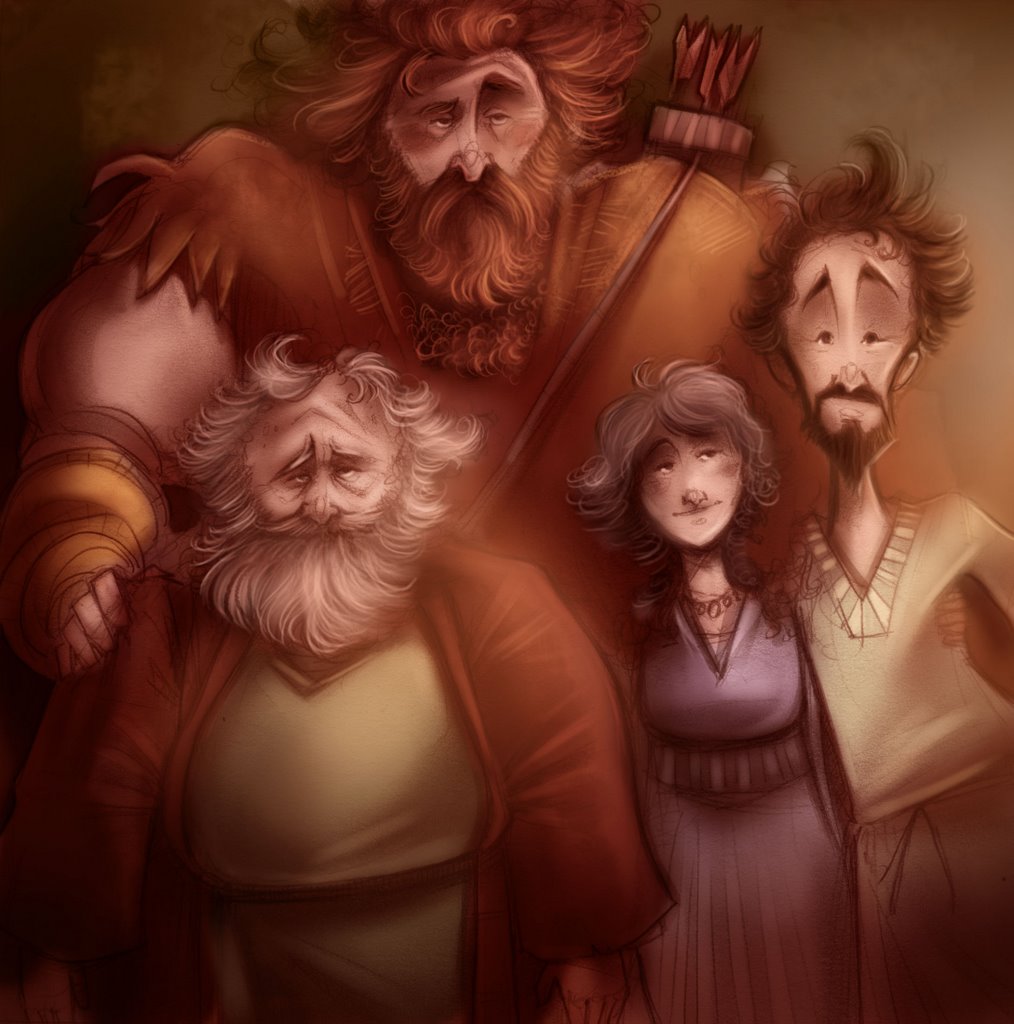
MY THOUGHTS: Very quick and dirty. All in all, I painted this in about 2 hours with minimal distraction if I remember right. This isn't meant to be the greatest piece ever, just a tutorial. There's still probably another good solid hour or so in there. It's not super polished but it gets across what it needs to.
An example of a much more finished drawing, and the finished painting is much more polished.
Done and done.
Then progresses to a finished drawing, like so. To do this you need to listen to good music and put the pencil down on the paper. This is the hardest part and the easiest part, unless you are listening to Pärt, Arvo Pärt, in which case after fifteen mintues you'll seize a chair, heave toward the nearest window, dive out after it, and plummet to your doom.
Then usually I'll goof off.
 Having a set of fantastic customized brushes never hurt a fly.
Now, here's the roast beef of this one.

A little coloring of the lines, just like how when I do a watercolor, I'll be sure to not use a regular pencil. I'll use a colerase brown, or Derwent Chocolate 66, to keep things from looking grim. And by grim I mean dead.

Using a normal airbrush set on multiply, I'll lay in my values. Generally in a brown.

And I'll also, multiply in some color.

Kind of an over view of things...

Now, here's the magic starting. See how that hair is red? Dig this:

You

use

Screen. Notice the old man (Isaac) and his hair from here...

...To here. Fantasic.
We're needing some light, so we need screen.

KA-BLAM-- and there was light.
The color of the background was beginning to be just a little to similar. So, with a layer of color, there you go.

Tame that saturation. That's to my liking, maybe not for everyone though.

Ready for the fridge.
MY THOUGHTS: Very quick and dirty. All in all, I painted this in about 2 hours with minimal distraction if I remember right. This isn't meant to be the greatest piece ever, just a tutorial. There's still probably another good solid hour or so in there. It's not super polished but it gets across what it needs to.
An example of a much more finished drawing, and the finished painting is much more polished.
Done and done.

posted by Cory Godbey @ 9:01 PM
![]()
![]()

28 Comments:
At 5/29/2006 11:02 AM, Andrew Peterson said…
Very cool. Can I link to this on my website?
At 5/29/2006 11:07 AM, Cory Godbey said…
sure thing rock star.
At 6/02/2006 10:17 AM, Frank-H said…
what can i say - EXCELLENT !!!
art of another league and very interesting post
thanks for sharing with us
At 6/02/2006 10:38 AM, constance wong said…
This is very cool!
At 6/02/2006 11:35 AM, arvindh said…
Wow excellent work! Nice to see the progress!
At 6/02/2006 11:58 AM, garth bruner said…
Alright, enough, enough. Consider yourself bookmarked.
At 6/03/2006 5:09 AM, Luisa said…
great photosop control, i love it!
At 6/13/2006 11:44 AM, Krishna M. Sadasivam said…
I love your blog. I've learned quite a few new coloring tricks. Keep the lessons coming!
At 6/13/2006 12:42 PM, Anonymous said…
I agree with the above!
But....
The way you use "screen", that is, as a verbal explanation of what exactly you are doing, is like a secret language invented between a pair of twins. It is as if Bob Ross suddenly started non-sequitors in a non-native tongue, instead of telling how a fan brush helps him lay down a happy little tree.
And then I flip flop the doodlesquat and there you are...
Screen!
Screen!
At 6/13/2006 2:00 PM, Cory Godbey said…
hm. well. that's too bad.
screen is after all a layer setting, not a way of life. nor a happy tree.
At 6/13/2006 2:21 PM, Cory Godbey said…
and you can reference this image for screen enlightenment. and by enlightment i mean understanding:
http://photos1.blogger.com/blogger/6673/1462/1600/9.jpg
notice the layer setting.
At 6/13/2006 5:01 PM, Anonymous said…
Great stuff!!!!
How would you recommend scanning in a drawing?
At 6/13/2006 5:06 PM, Cory Godbey said…
well probably by not adjusting anything with the scanner and trying to get as 'truthful' of a scan as you can. even if it looks a little to gray, that's fine.
at some point or another i always adjust the lights and darks in photoshop to get a better quality and more contrat.
in photoshop: IMAGE/ Adjustments/ levels
adjusting the levels in photoshop will get you better results.
At 6/13/2006 5:56 PM, Anonymous said…
I See. Actually, let me clarify...
Can you please tell us the actual brand or model scanner that you use? I've tried scanning in drawings and never have great results. Do you think your special paper helps? If so, can you please share that brand as well?
Thanks!
At 6/13/2006 9:38 PM, Cory Godbey said…
the magic paper is just what suits my habits. it actaully doesn't scan that hot. it's kind of a light tan, ochre color. so, I usually have try and make it not be like that.
as for the scanner:
the model is an Epsom GT-15000
and the size is 11x17
but I've also got a little baby hp scanjet3570c
so. i don't know.
At 6/13/2006 10:51 PM, Anonymous said…
Don't suppose you would share your custom brushes...would you?
**insert breath-holding here**
At 6/14/2006 7:11 AM, Anonymous said…
wonderful
:)
At 6/14/2006 1:28 PM, Cory Godbey said…
my goal with this is to show people how i step in that direction and if they can relate or repsond to that somehow, that's what i want to help.
as far as the brushes go, i really only use two or three brushes, a flat brush, an air brush, and one or two of just a kind of 'crunchy brush'
i turn the 'flow' way down and the 'spacing' off. and mostly just use the shape dynamics & other dynamics. nothing fancy.
At 6/15/2006 10:16 AM, Armitiel said…
nice one:)
At 6/17/2006 10:58 AM, Nunumi said…
oh my! i love you for showing all this! ^_^
At 6/21/2006 8:28 PM, Anonymous said…
You're so talented and I love your work. Did you take an art class, or are you just... like that? :)
Also. Where'd you get your brushes?
(jacque_armadillo@yahoo.com)
At 7/04/2006 4:38 AM, Anonymous said…
Waaaaaaaaaaaaaaaaa... i found your website! I luv it! :) Especially the final colors of ur work.. ;)
At 7/07/2006 3:34 PM, alemieux3 said…
You mentioned your set of custom brushes. Did you make them yourself or did you download them?
How do you build volume out of your simple shapes?
At 7/07/2006 3:35 PM, alemieux3 said…
Sorry, one other question, is the original a straight pencil drawing?
At 9/05/2006 9:15 PM, Anonymous said…
This is lovely.
At 10/04/2006 7:50 AM, Anyul said…
hey dude!!! God Bless you for these paintings.... they're absolutely cool!!! i've bookmarked both of your blogs, I admire your work so much.
Greetings from Venezuela.
Ps: is there anyway you can share with us any of your original psd file? even if it's old, it'd a great way to learn better your technique.
At 5/31/2007 9:09 AM, ian said…
Hi Corey,
I've just recently found this blog and I have to say that I'm completely blown away. I've been using Photoshop in school and professionally for about 12yrs now (prepress and graphic design) and I've found that you NEVER know it all. These tutuorials are amazing. Keep it up. And thanks for showing me more Photoshop goodness!
Ian
At 2/15/2010 5:12 AM, Clipping Path said…
What an amazing post! i really really like it. keep up dear :-)
Post a Comment
<< Home